USAID
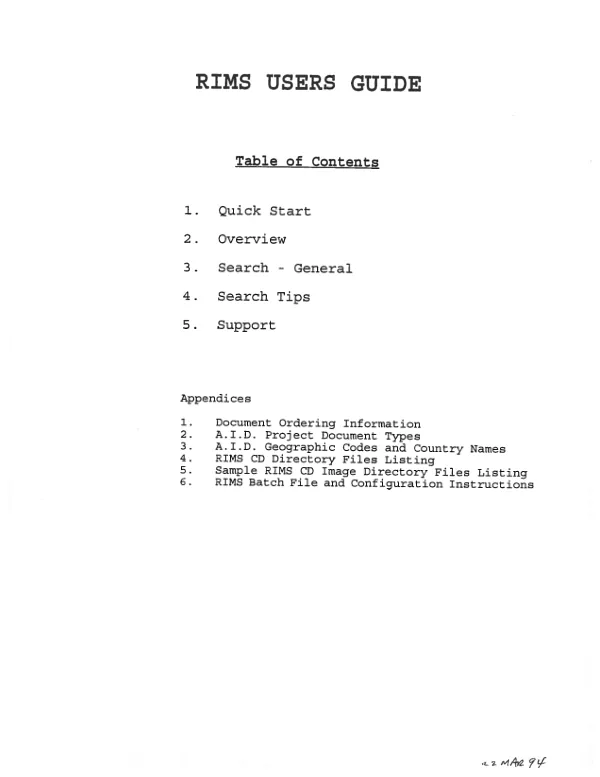
RIMS Users Guide
The RIMS CD-ROM Operating Instructions provide a step-by-step guide for accessing and utilizing the RIMS database.
2013 · 57 pages
Sign in to readA free account is required to download.
Abstract
The instructions begin with the insertion of the most current issue of the RIMS CD-ROM into the CD-ROM drive unit or a "caddy" and placement into the CD-ROM drive unit. From the directory on the C:> drive where the RIMS software is installed, the user types CONTRACT E (their bureau name and CD-ROM reader drive letter) and hits <ENTER>. The user is then presented with a welcome screen that asks them to select from one of the following options: (B)ureau RIMS Database or (G)etting Started. Selecting (B) gains access to the user's bureau database with entries for all documents processed through records management since FY83. The user is then asked how they would like to search for a document, with options including Contract Number, Contractor Name, Document Type, Date Signed, Project Number, and more. Using the up or down arrow keys or selecting a field with the first letter of their choice, the user begins their initial search. A window opens to the right with a sorted alphanumeric list of the contents of the selected field. The user types in the specific item they are looking for, such as a specific contract number, and hits <ENTER> to confirm. A yellow check mark appears to the left of their selections. The user then hits <F5> to perform the search, and the computer tells them how many items it found matching their search criteria. The user is then asked if they want to display the search results. Selecting (B) gains access to the database record for the document, which includes contract number, contractor name, project number, country, date signed, amendment number, document type, and the available format for the document. The user can then display the image by hitting <F7>, which will show the image on the screen. If the document is only available in microfiche, the user will see a message indicating this. The user can also zoom in on the image by hitting the + (plus) sign, view the next page by hitting Page Down, and view the previous page by hitting Page Up. The user can also print the document by exiting the RIMS program and returning to the DOS prompt. They then type PRINTING <space> DOCID number of the document they want to print and hit <ENTER>. This will take them to the first page of the document they want to print. When they are ready to start printing, they hit INSERT, and the print menu appears with options including Print Current Page, Range of Pages to Print, Print all pages, and Exit (No Print). The user selects one of these options and hits <ENTER>, which brings up the menu to select printer resolution. They can choose from Draft, Normal, Letter Quality, 75 DPI, 150 DPI, or 300 DPI. The recommended resolution is 300 DPI, which provides a legible print. The user then selects one of the options and hits <ENTER>, which starts the printer.
Related documents